

 Talos
Talos Omni
Omni Kubernetes Guides
Requirements
- An Omni instance (either on the Sidero Labs SaaS or self-hosted) with Admin access
- Access to the Image Factory (either the public one hosted by Sidero Labs, or self-hosted)
- Some bare-metal machines with:
- BMC (baseboard management controller) power management capabilities via one of the following:
- IPMI
- Redfish
- Outbound access to the Omni instance and the Image Factory
- BMC (baseboard management controller) power management capabilities via one of the following:
- A machine/container/cluster etc. in the same subnet as the bare-metal machines, in order to run the infrastructure provider service
- Our managed Omni instance is running at
my-instance.omni.siderolabs.io - We will use the public Image Factory at
factory.talos.dev - Bare-Metal machines with IPMI support
- An additional server with Docker installed to run the infrastructure provider service, with the IP address
172.16.0.42within the subnet172.16.0.0/24, reachable by the bare-metal machines - Two bare-metal servers within the subnet
172.16.0.0/24with access to the infrastructure provider, our Omni instance, and to the Image Factory
1. Creating an Omni service account
We start by setting up access for the infrastructure provider to Omni.Here, we need to create the service account with the same ID as the ID of the provider service we are going to run. It defaults to bare-metal, hence we use it as the name, but if you plan to use a different ID (passed via
--id) or run multiple provider instances, set the name accordingly for the service account.- From Omni Web UI
- Using omnictl
Navigate to the Settings - Infra Providers tab on the Omni web UI, and setup a new infra provider with ID 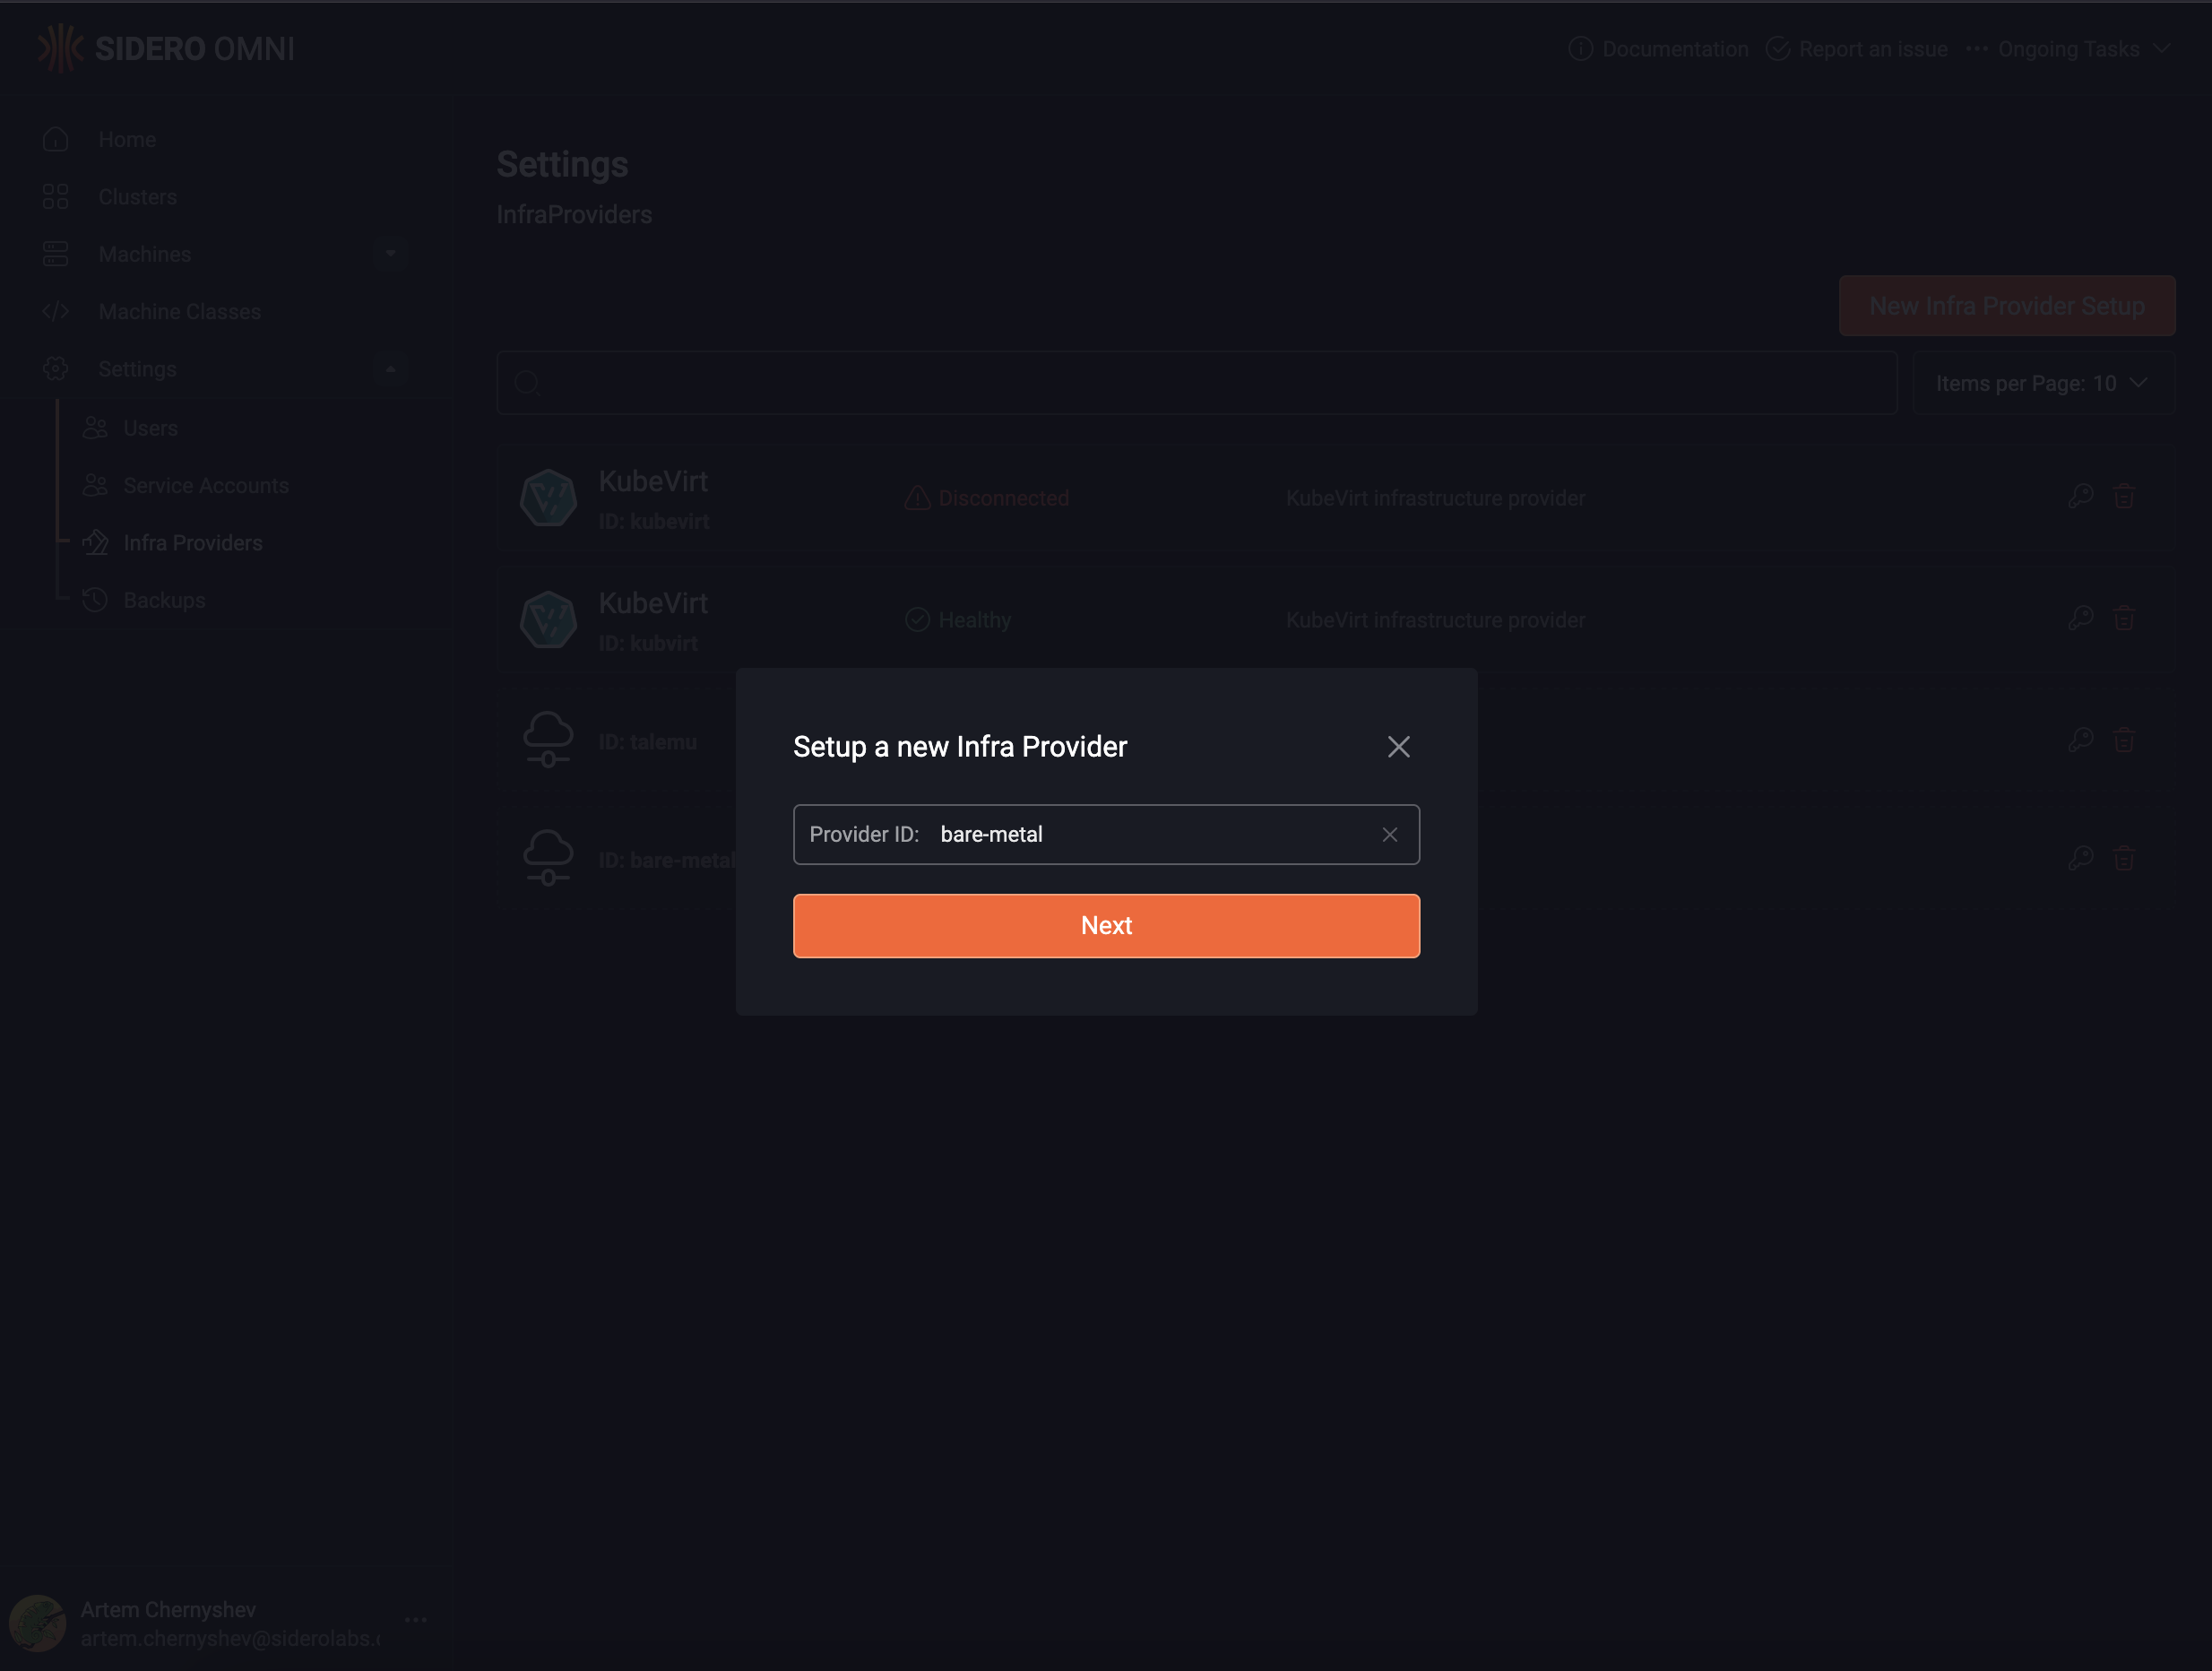
bare-metal 2. Starting the provider
We will run the provider in a Docker container in our server with IP172.16.0.42.
Start by getting the image reference of the latest version of the provider package.
At the time of writing, it is ghcr.io/siderolabs/omni-infra-provider-bare-metal:v0.8.1, and this is what we shall use in this tutorial.
Set the required environment variables, using the service account key from the previous step:
The provider can manage the power state of machines using either IPMI or Redfish.By default, it probes the BMC IP for the Redfish API availability. If Redfish is available, it will be preferred over IPMI.This behavior can be customized using the following flags:
- To always use Redfish, set
--redfish-use-always. - To always use IPMI (not probe Redfish), set
--redfish-use-when-available=false.
--help flag.The provider will start a DHCP proxy server, listening for PXE boot requests on the interface that the
--api-advertise-address resides in. This DHCP proxy server is only responsible for generating PXE-boot responses for the machines configured to PXE boot. It does not affect the existing DHCP infrastructure otherwise.If you need to run this DHCP proxy on a different interface (so the responses are broadcast to the correct network), you can pass the --dhcp-proxy-iface-or-ip flag to the provider, specifying either the name of the network interface or an IP on that machine which belongs to the desired interface.3. Starting the Bare-Metal machines
At this point, we can boot our bare-metal machines. Before we start, make sure that they are configured to boot over the network via PXE on the next boot, so that they can be booted by the provider.We recommend using the boot order of first disk, then network.
At this point, these machines are booted into a special mode of Talos Linux called “Agent Mode”. In this mode, Talos:
- does not detect any existing Talos installation on the disk, nor attempt to boot from disk
- does not allow a configuration to be applied to it
- establishes a secure SideroLink connection to the Omni instance
- runs the Metal Agent extension which establishes a connection to the provider
- runs only the required services to be able to further provisioned by the provider
4. Configuring and accepting the machines in Omni
At this point, the machines should be booted into the Agent Mode, and have established aSideroLink connection to our Omni instance.
4.1. Verifying the machines
Let’s verify our machines:- From Omni Web UI
- Using omnictl
Navigate to Machines - Pending tab on Omni web UI. You should see the machines pending acceptance: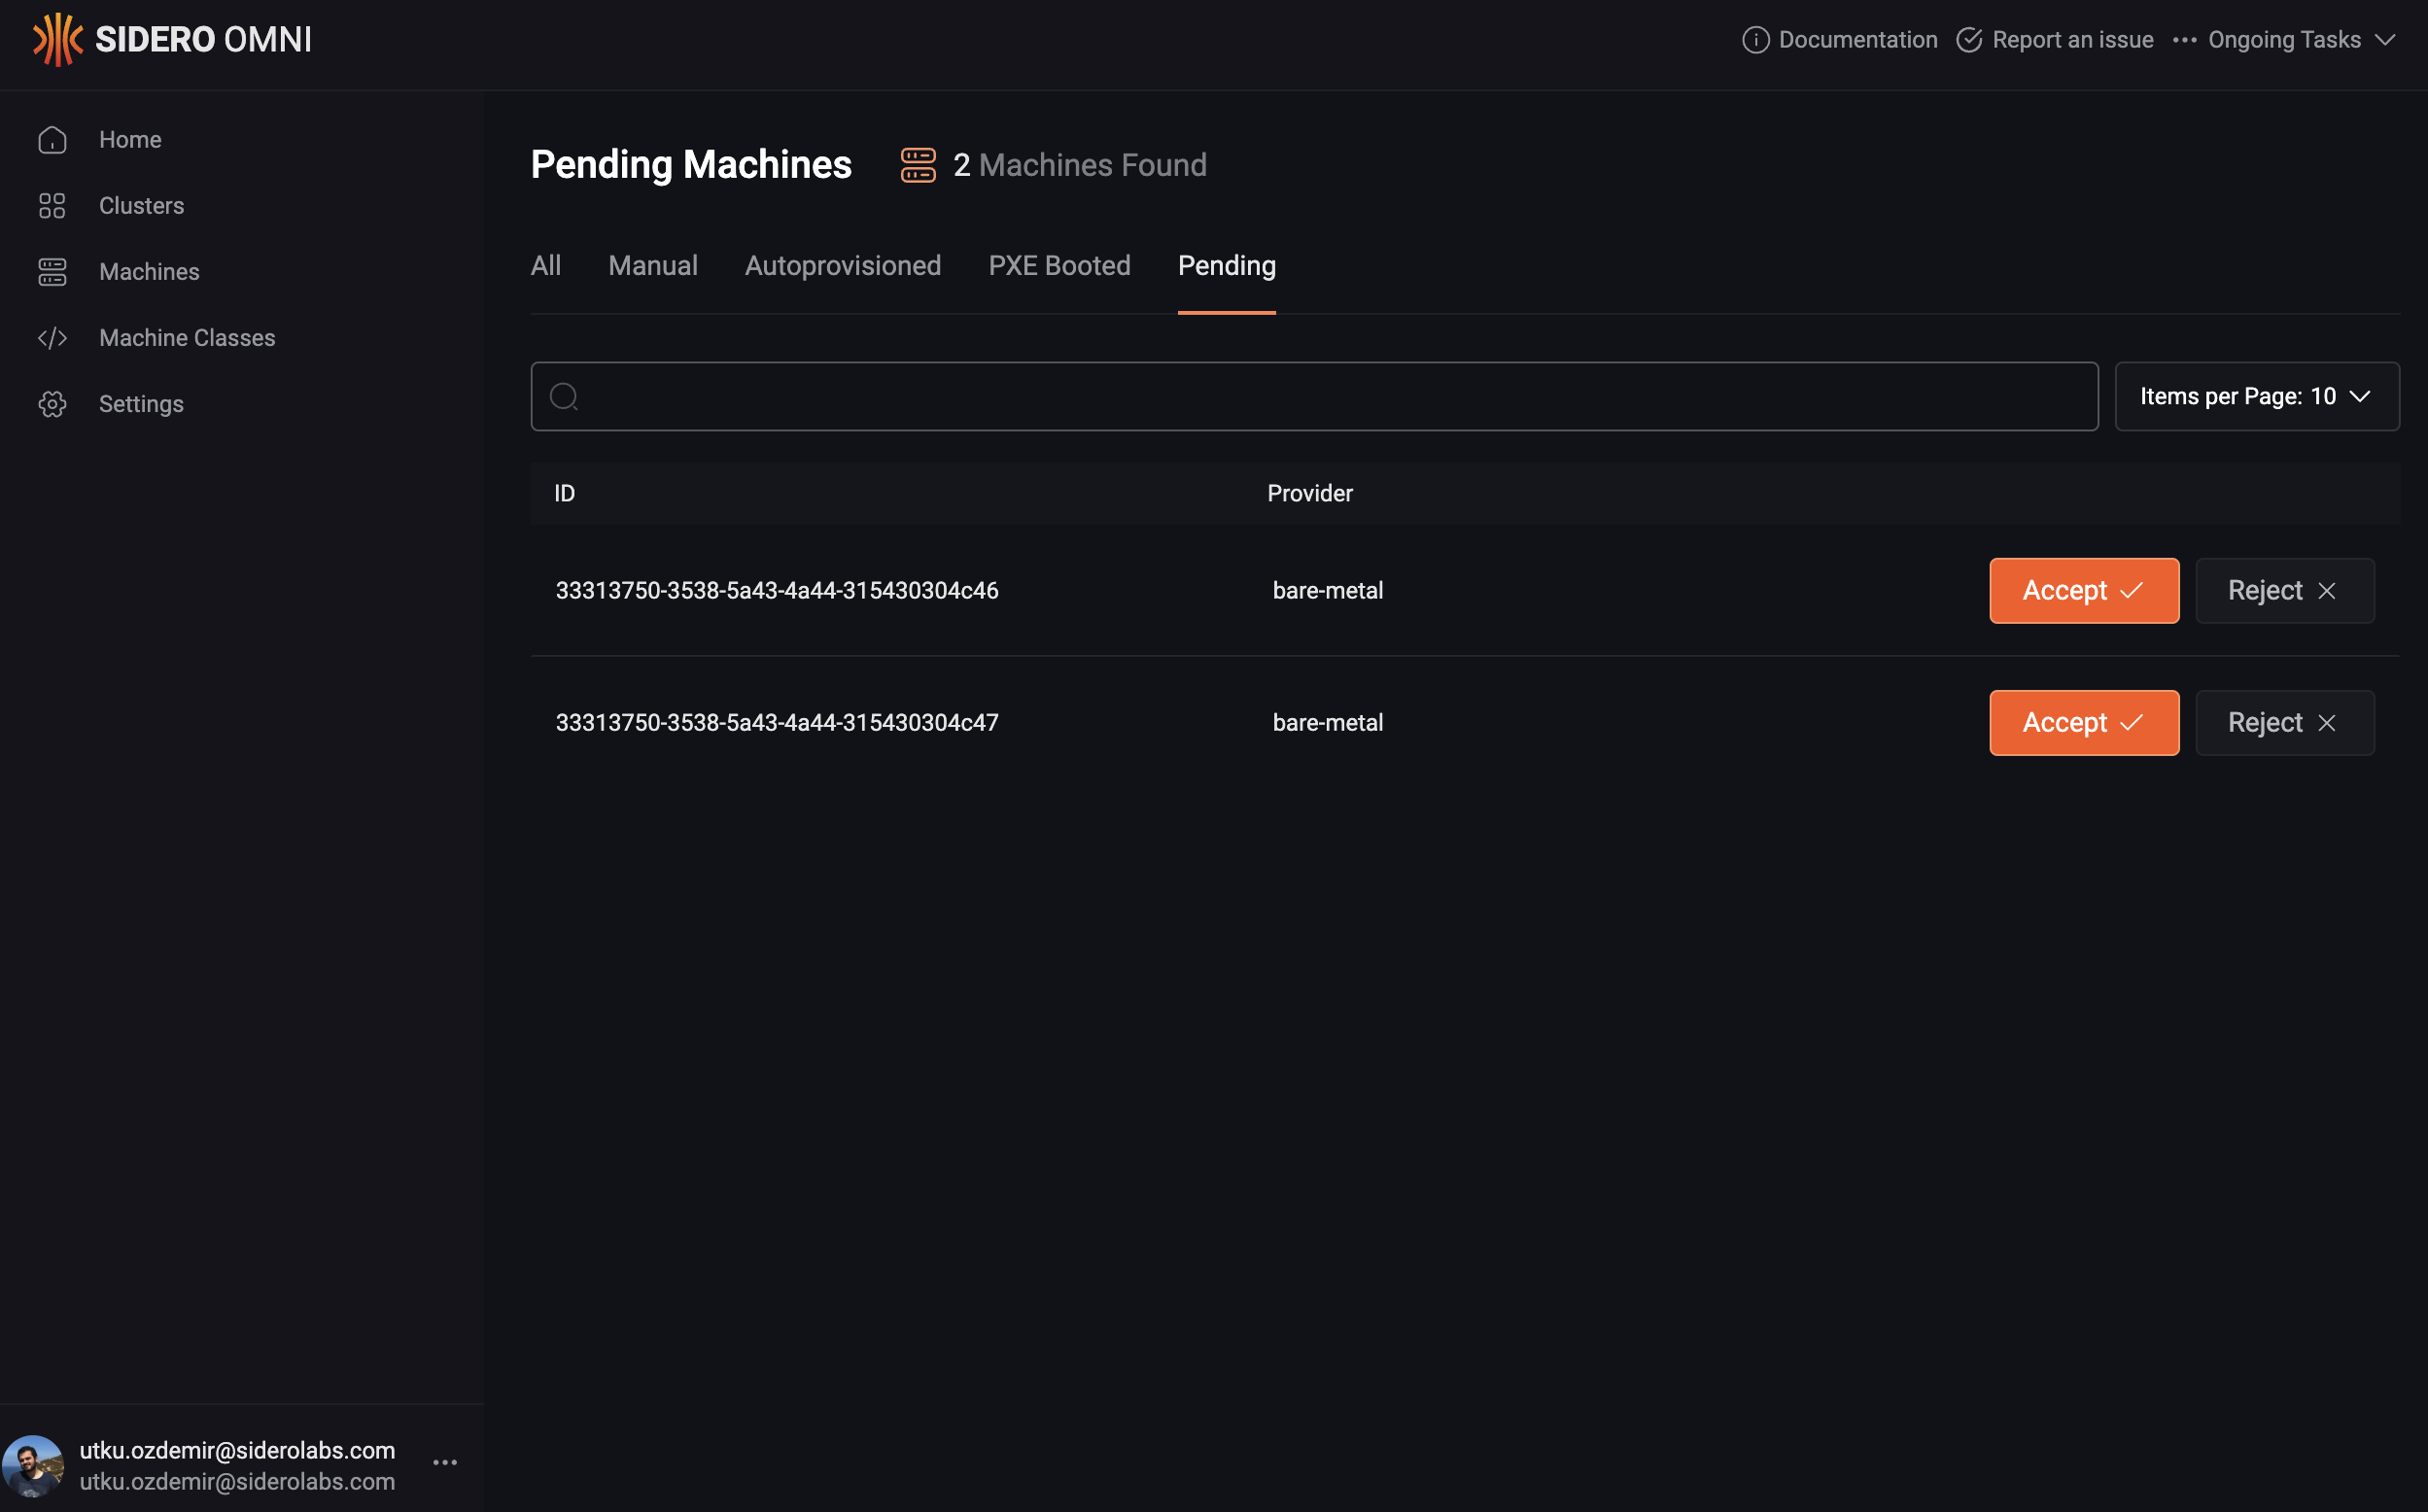
33313750-3538-5a43-4a44-315430304c4633313750-3538-5a43-4a44-315430304c47
4.2. Optional: providing BMC (e.g., IPMI/Redfish) configuration manually
Normally, when we accept a machine in Omni, the provider will auto-configure the BMC configuration, such as the IPMI IP, username and password automatically by asking the agent service running on the Talos machine. Sometimes we do not want this behavior - instead, we already have this information at hand, and want to provide it manually, skipping this step. To do this, before accepting these machines, we need to create a resource with these credentials in Omni. Create abmc-config.yaml file with the following contents:
omnictl:
We can create this resource at a later time as well and the provider would start it.However, if we want to bypass the automatic credential configuration on machine acceptance, we need to ensure that the
InfraMachineBMCConfig resource is present before we accept the machine.4.3. Accepting the machines
As the final step, we need to accept these machines in Omni.- From Omni Web UI
- Using omnictl
Simply click the “Accept” button on each machine under the Machines - Pending tab on the Omni web UI, and confirm the action: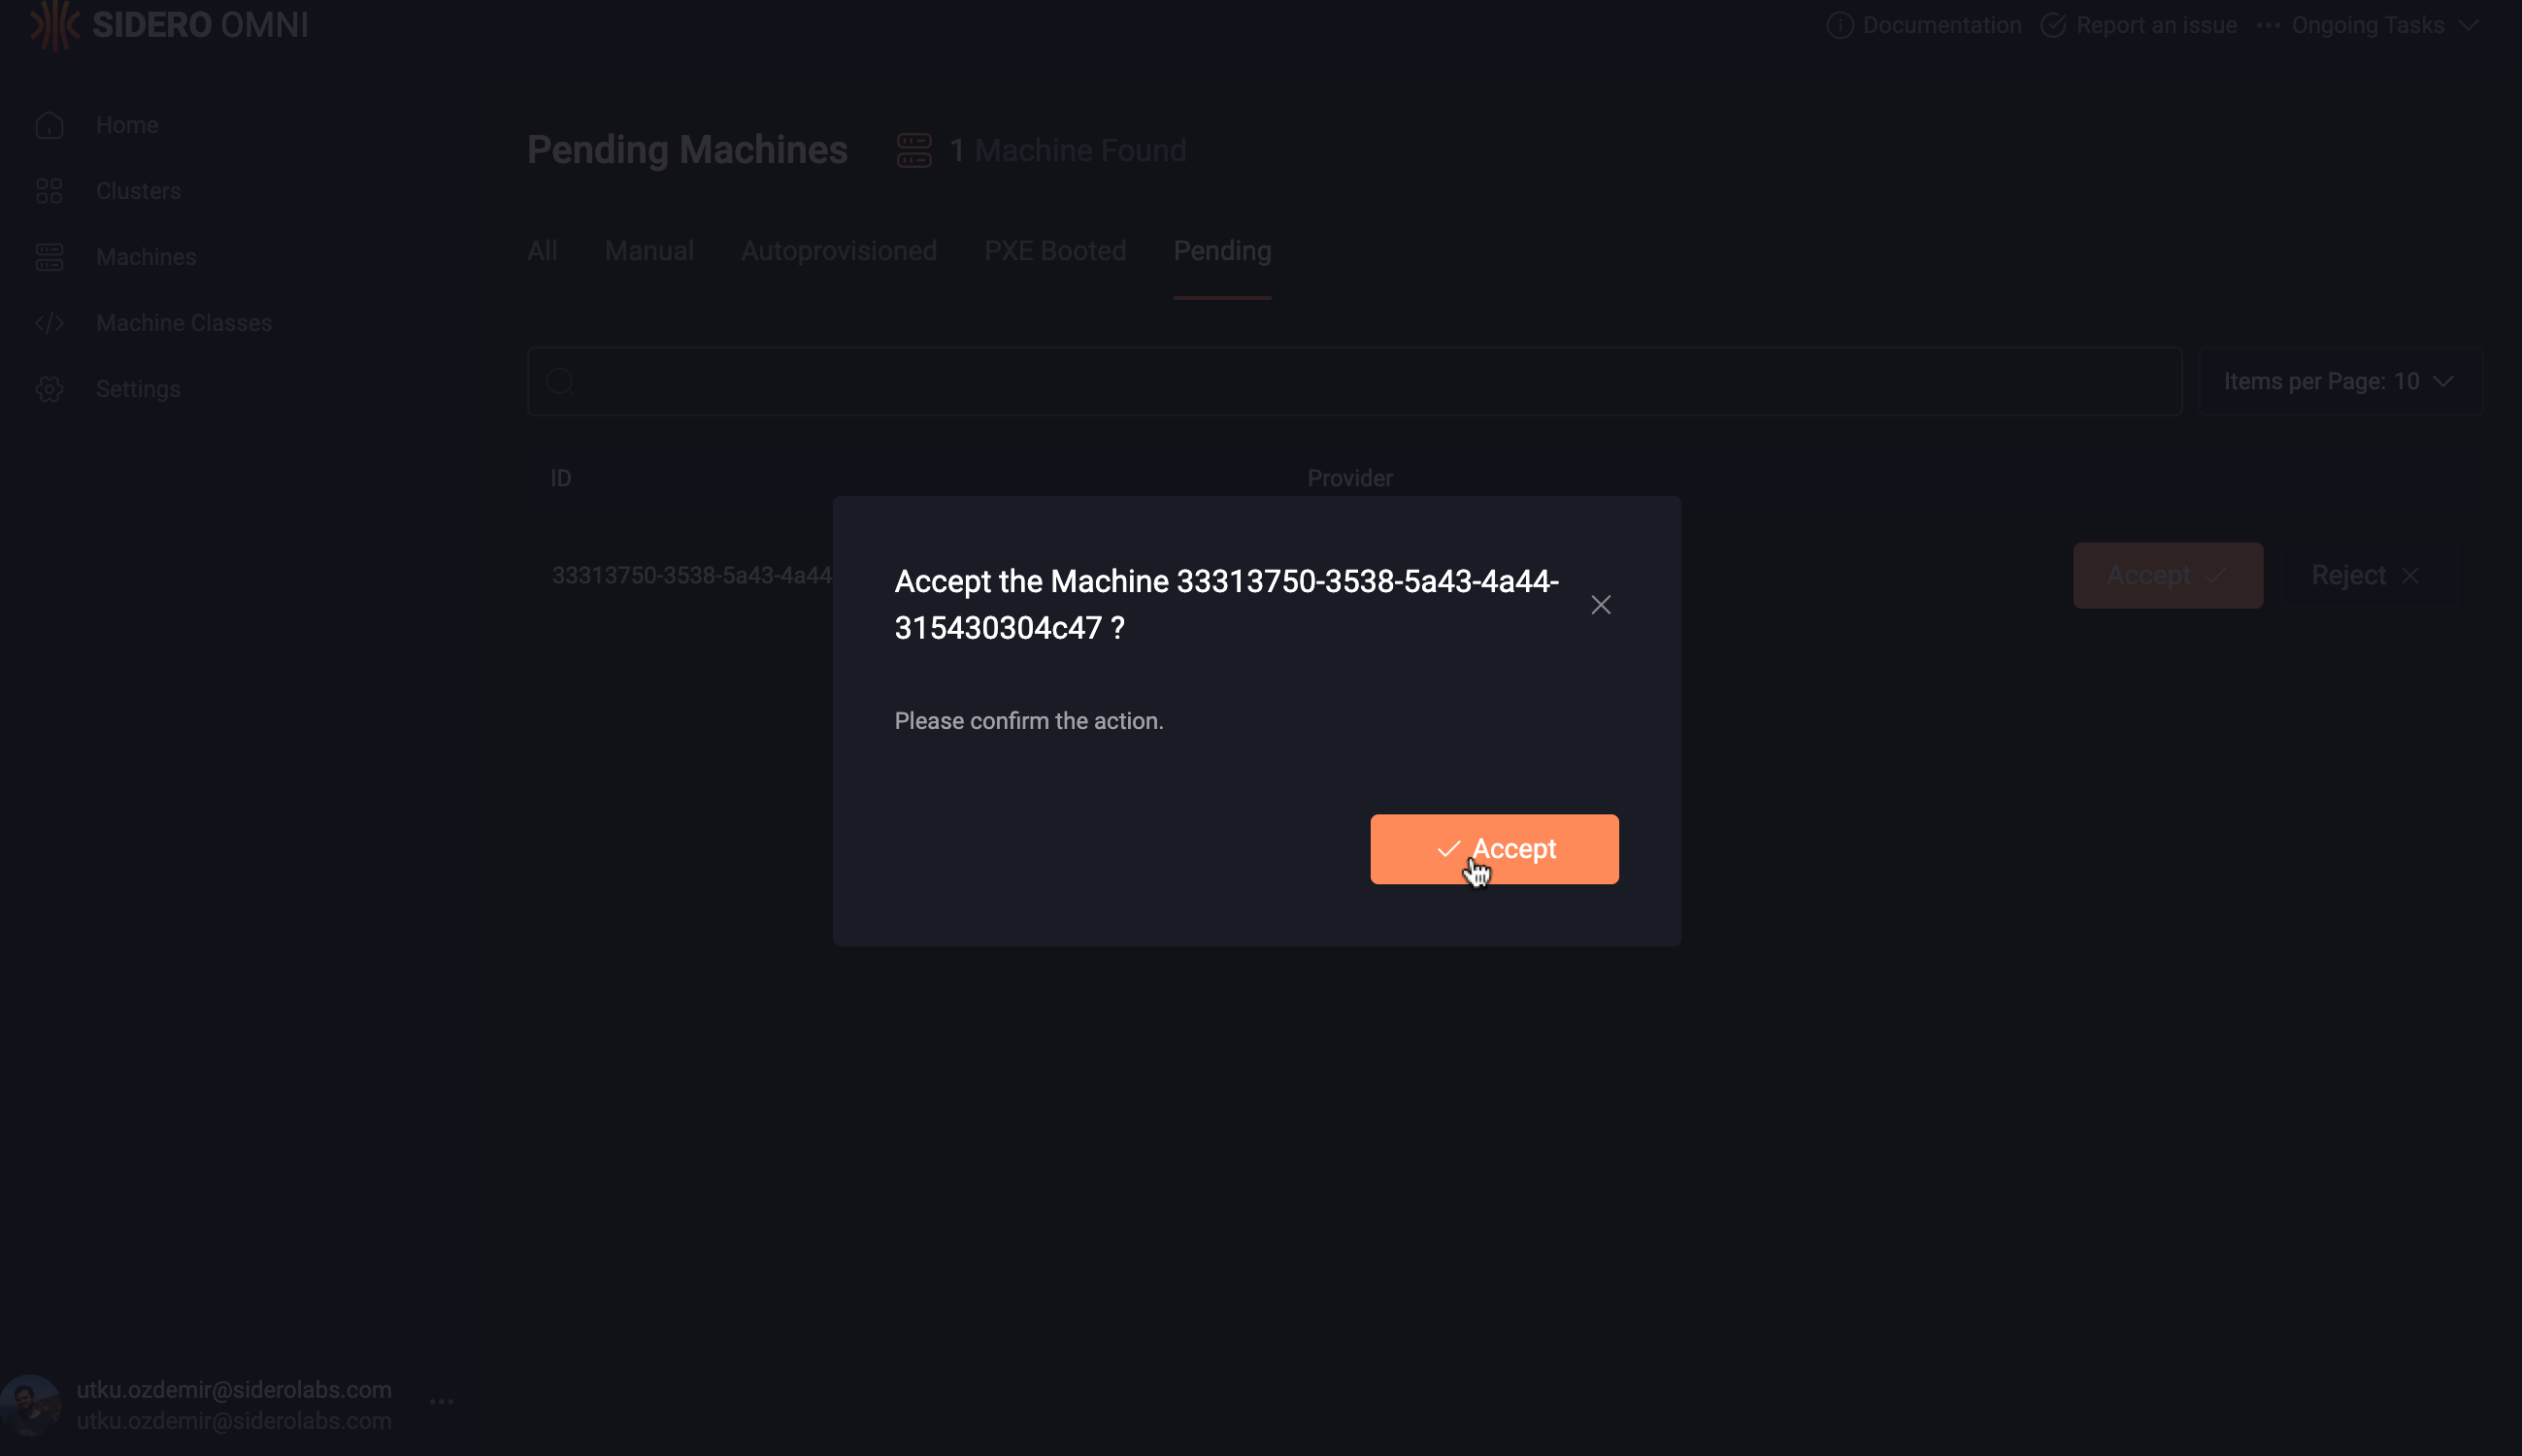
Accepting the machine will wipe ALL disks. This is to ensure that the machine is in a clear state, and will be fully managed by Omni from that moment on.
- Ask the Talos Agent service on the machines to configure their IPMI credentials
- Retrieve these credentials and store them
- Wipes the disks of these machines
- Power off these machines over IPMI
Machine, and an InfraMachineStatus resource for each machine. You can verify this by:
5. Adding machines to a cluster
We can now create a cluster using these machines. For this, simply follow the guide for creating a cluster. When you add these machines to a cluster, the following will happen under the hood. The provider will:- Power these machines on, marking their next boot to be a PXE boot
- PXE boot them into Talos maintenance mode
- Applying a configuration to the machine, causing Talos to be installed to the disk
- Reboot (possibly using
kexec)
Ready status.
6. Removing machines from a cluster
When you delete a cluster and/or remove some bare-metal machines from a cluster, the following will happen: Omni does the regular de-allocation flow:- Remove the nodes from the cluster (leave
etcdmembership for control planes) - Reset the machines
- PXE boot the machine into Agent Mode (to be able to wipe its disks)
- Wipe its disks
- Power off the machine